

Do you remember the first mobile phone cameras? Remember the blurry, grainy, low-quality photos that they took?
These days, phone photography can do some amazing feats. It’s also much more portable than a bulky DSLR you take on vacations.
You can make amazing photos with your phone. This is the best way to stand out on Instagram .
This post will show you how to take great Instagram photos with only your phone. Some Instagram picture ideas that will inspire your feed.
How to make great Instagram photos with your phone
Understanding the basics of composition and lighting is key to taking great photos with your phone. This will also help you develop your photographic instincts. Follow these simple rules.
Step 1: Make use of natural light
A good photo starts with lighting. The first rule to great photos with your phone is understanding how to use light.
Use natural light instead of flash to create photos that are richer, brighter and more vivid.
Flashes can make your photo flat and blurry. Photographs should be taken near windows and well-lit rooms if you are unable to shoot outdoors. Even at night, it is better to locate sources of ambient lighting, such as street lamps or store windows.
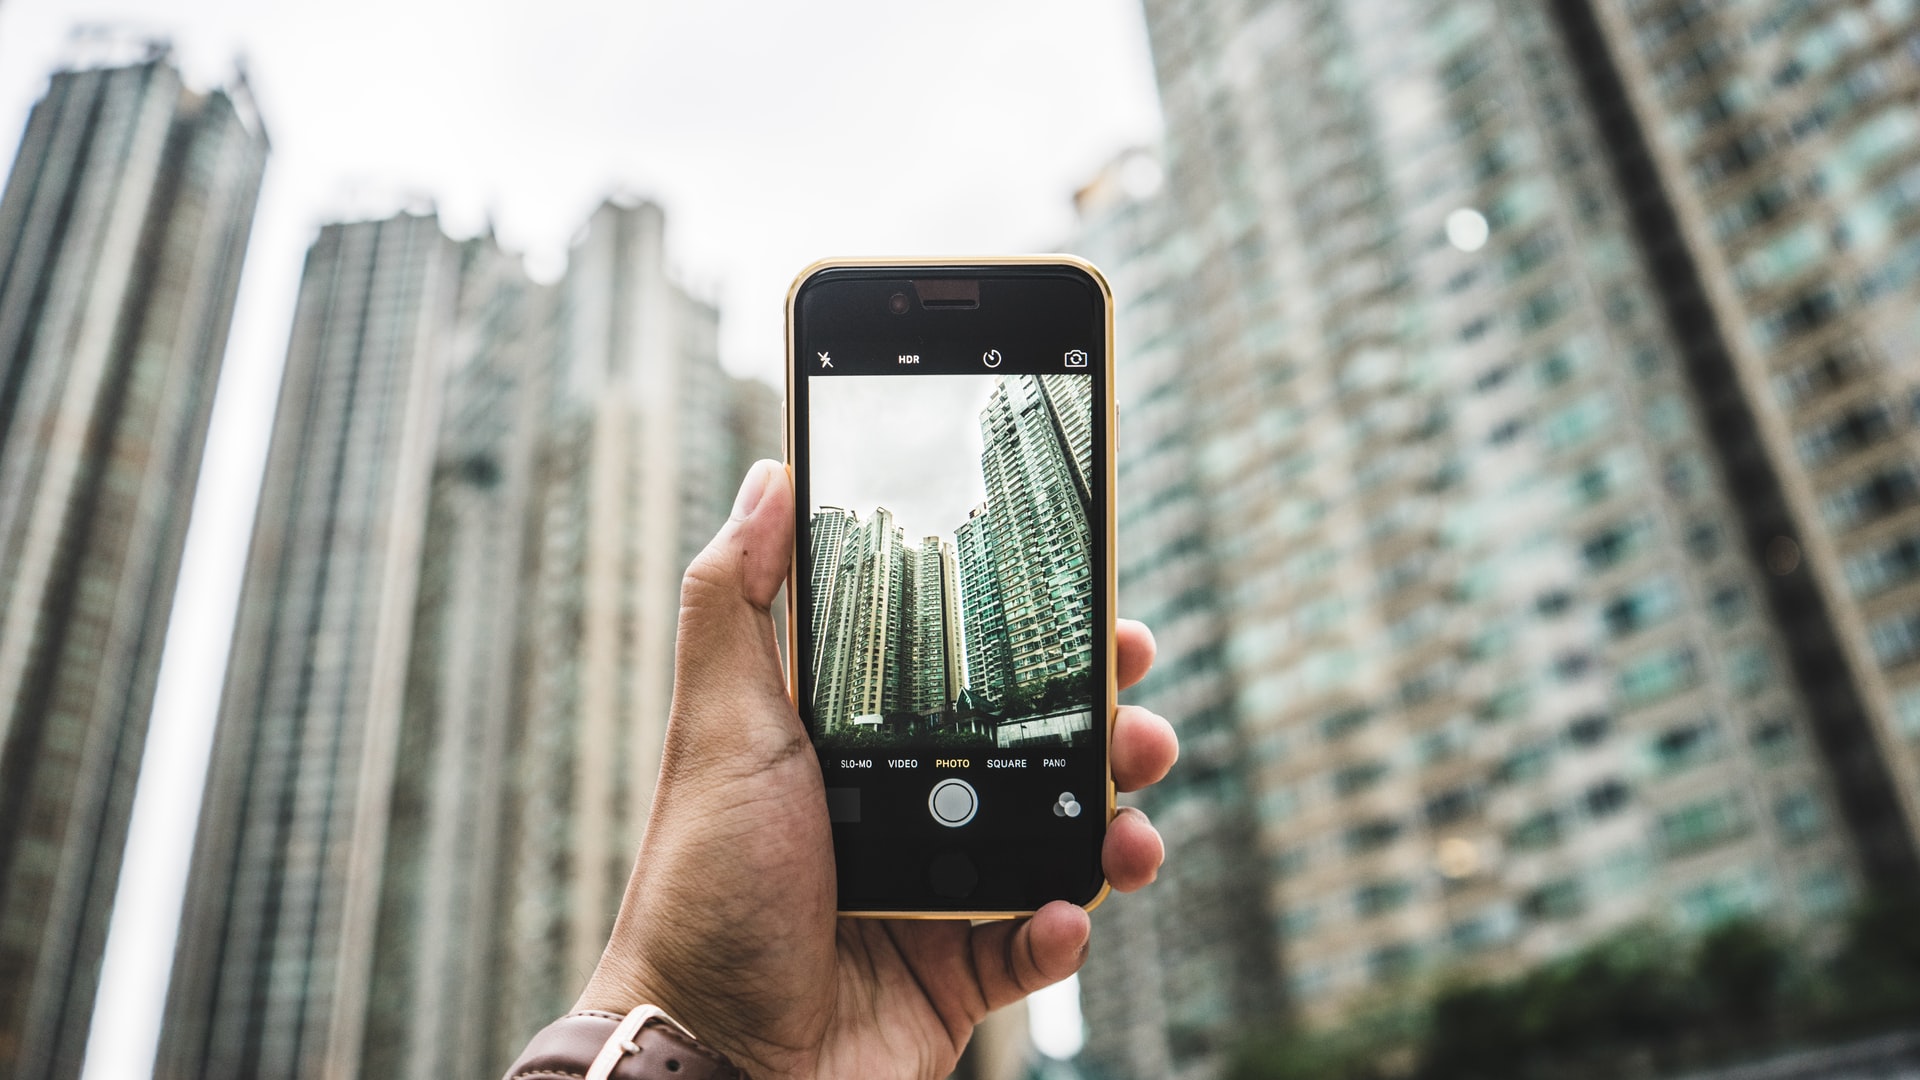
Step 2: Don’t overexpose images
Editing tools can lighten a photo that is too dark, but it’s impossible to fix photos that are overexposed.
You can prevent overexposure by changing the screen’s lighting: simply tap and drag your finger upward or downward to adjust exposure.
To prevent overexposure, tap your finger on the brightest area of the frame (in this case the windows). This will adjust the lighting and make sure you don’t take too many photos.
Step 3: Take the perfect picture at the right moment
Photographers love golden hour for a reason. Every photo is more beautiful when the sun is low above the horizon. This is nature’s Instagram filter.
Clouds are your friend if you shoot at midday. Direct sunlight can make photos look harsh and it’s difficult to capture a great shot.
Clouds reflect the sun’s light and create a flattering, softening effect.
Step 4: Use the rule of thirds
Composition is the arrangement of photos: the shapes, textures and colors that make up your images.
The rule of Thirds is one of most popular composition principles. It refers to a simple way of balancing an image. To create balance, it divides an image in to a grid of 3×3. It aligns subjects and objects along the grid lines.
You can, for example, center your photo
You can also create a pleasing effect by using “balanced-asymmetry”, which means that the subject is offset from the center but balanced by another object. The flowers are placed in the lower-right corner of the photo and balanced by the sun in top-left corner.
Pro tip Use the gridlines in your settings to align your photos.
Step 5: Take stock of your perspective
You probably take a picture on your phone by holding it up at eye level. This is what most people do. If you want to capture interesting and unexpected photos, resist this natural tendency.
Photographing from a different perspective will give you new perspectives even if the subject is familiar. If you feel ambitious, try shooting from the top or bottom, crouching down to the ground or scaling a wall.
Do not try to get the perfect shot. Instead, challenge yourself to look at things differently.
Step 6: Create your subject
You can increase the visual interest of your photo by leaving space around its focal point. Sometimes, you can get an unexpected detail that enhances the photo. For example, the moon high above the sky in this photo.
Your phone camera zooms in, reducing your field of vision. This is unlike a camera that has an adjustable lens. You are basically pre-cropping the image. You may not have the option to edit later and it could result in you losing important details.
Instead, tap the photo subject or focal point to focus it.
You can purchase an external lens to extend your options.
Step 7: Draw the eye of the viewer
Leading lines are lines that run through a photograph that draw the eye and add depth. These lines could be roads, buildings or natural elements such as trees and waves.
Look out for leading lines. They can be used to add motion to your photograph.
To direct the eye to your subject, you can use leading lines.
Step 8: Add depth
It is easy to be focused on only the subject of a photo, regardless of whether it’s a person or a nice slice of pizza. Photos that have layers of patterns or objects in both the background and the foreground are more interesting.
Instead of just cropping the flowers tightly, this photo also includes the railing behind them and the tree beyond. Then there is a sunset and the horizon. Every layer in the photo is worth a look, drawing you in.
Step 9: Be creative
Some Instagram photos are so well-known that they have become clichés. This has led to an entire Instagram account dedicated exclusively to repeat images. Do not get too caught up in Instagram’s photo trends. You can lose your creativity.
In order to be different from other brands on Instagram you need to challenge yourself to come up with a new angle on a topic. This will help you create a memorable brand identity.
10 ideas for Instagram pictures
Let’s now talk about subjects, now that we have an understanding of the principles behind photography.
Certain subjects and themes are popular on Instagram due to their wide appeal and high visual interest. You can increase your visibility on Instagram by posting engaging content.
To buy Instagram likes cheap, look here.

